Dubai
I took a trip to visit one of my best friends, Vipin, over in Dubai. Despite several prior attempts, this was my first time traveling internationally. Below I summarize everything I saw and learned while there.
You can see the full gallery here.
Economy
The United Arab Emirates Dirham (AED) is pegged to the United States Dollar (USD) at a ratio of 1 dollar = 3.67 dirhams.
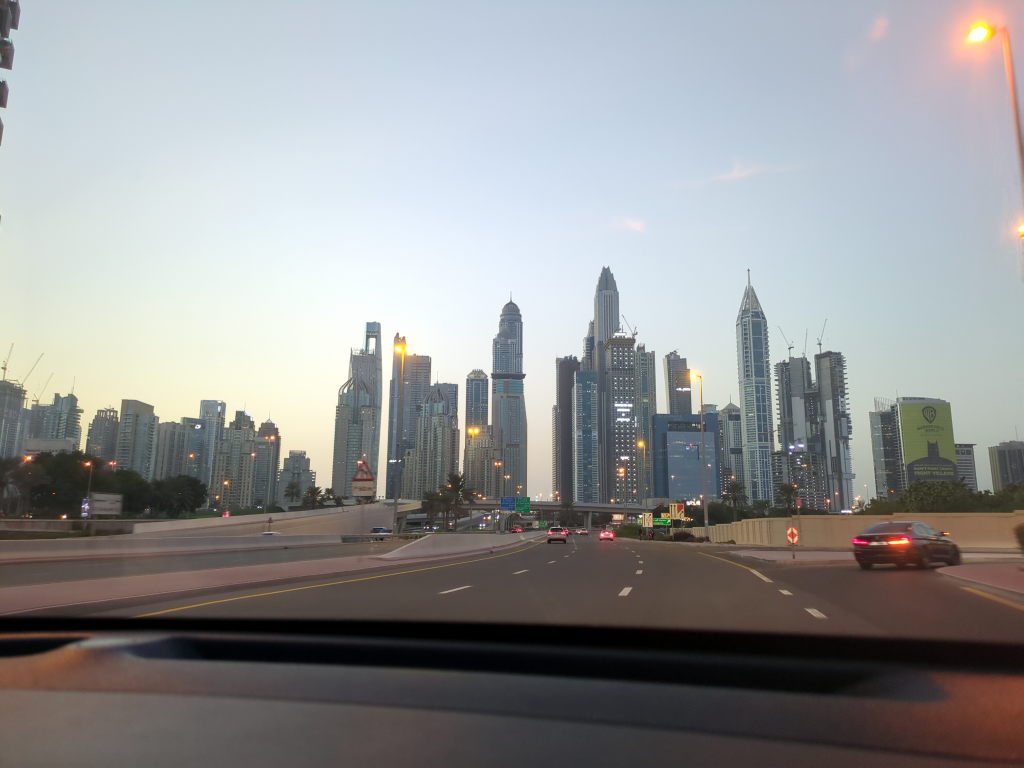
Everyone has a job here. Here, there are people constantly cleaning the floors of the malls. A bathroom attendant ensures the stalls are clean at all times. Swimming pools have two lifeguards staffed even during hours where no one would swim. Many locations, like banks or malls, have extremely polite greeters or guides. The skyline is filled with cranes; massive construction projects are finished in mere months, not years. In the States, most companies would deem this as inefficient, but the fundamental economics here are vastly different.
Aside from a few exceptions, there is no minimum wage here. Data varies, but the median monthly salary is about AED 19,000 (USD 5,177). That’s AED 109 (USD 30) per hour, or AED 228,000 (USD 62,125) per year.
This is the new land of opportunity. Many people, especially Indians or Filipinos, come here to start a new life. Their mindset is very similar to the immigrants arriving at Ellis Island in the early 1900’s, all seeking something resembling the American dream. Demographically speaking, this means there are a lot of single or married men (bringing their families) here for work. Dubai doesn’t seem to attract as many single women, and if it does they tend to be very independent or entrepreneurial.
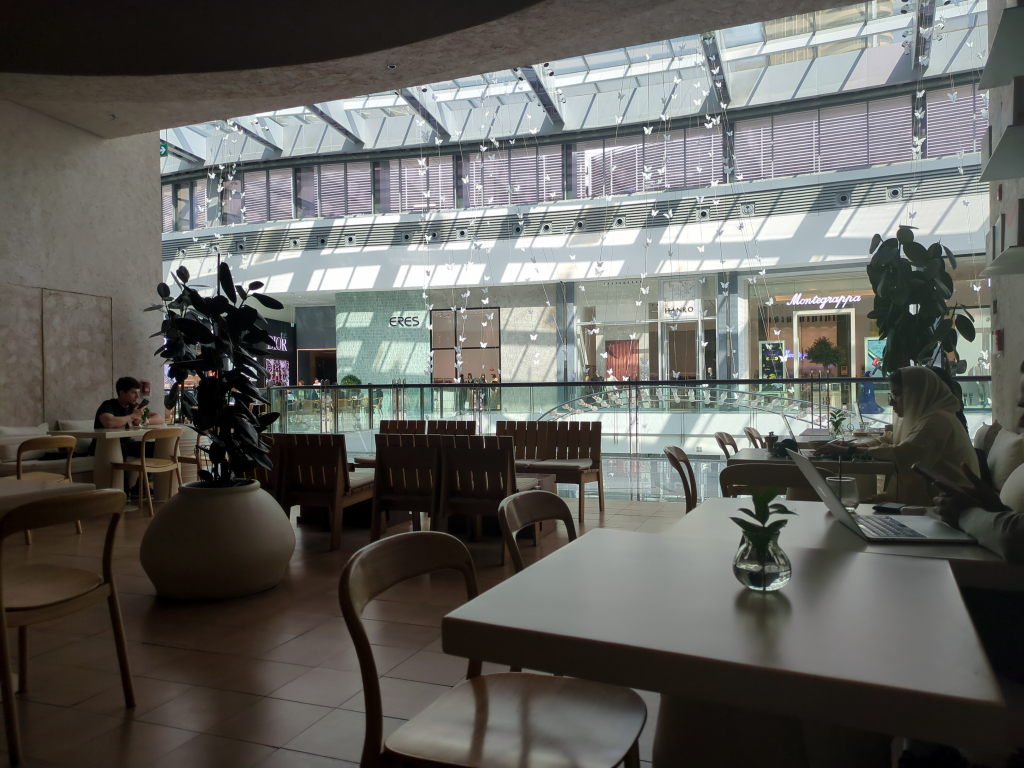
Mall culture is pervasive here, and it makes sense. In the US, it’s a dying feature, but in the Emirates many people walk, take the Metro (light rail), or use taxis and ride-share. The malls are extravagantly beautiful, enormous, and air-conditioned. It’s an ideal place to congregate with friends away from the hot sun and have a meal or snack, complete some errands, or find some entertainment. American chains are surprisingly common.
Petrol (gas) costs about the same here, maybe less. For the lowest/regular 95 octane, the rate was AED 2.60 / liter (USD 2.68 / gallon). Note that in the US, the lowest/regular octane is generally 87; premium is typically 93. All petrol stations are manned, you don’t get out of the car to pump your own petrol. They will even wipe your windshields while you wait.
India
These economic features don’t just shape the city – they shape who comes here. And no group has contributed more to Dubai’s growth than its Indian expatriate community. Many Indians come searching for promising job opportunities. In India, widespread bureaucracy and corruption frequently add costs and delays for businesses. These issues tend to suppress salaries and deter foreign investment. Coupled with an education system that leaves much to be desired, this environment drives many educated or ambitious Indians to look abroad for work or further study.
India is the world’s largest democracy, and harbors 6 national parties and ~58 state parties, a shocking contrast to the United States’ majority 2. In order to reach a majority, these parties form coalitions with each other. Narendra Modi of the Bharatiya Janata Party (BJP, conservative) has served as prime minister since 2014 and, in a close race involving coalitions, was recently re-elected. He has been a controversial figure because he has indicated a desire to alter the constitution in favor of Hindu and/or nationalist goals. India has long been a country representing religious diversity and has hosted every major (and minor) religion for decades. But under Modi’s rule, critics point to growing concerns over religious tolerance and civil liberties, especially for minority communities including Muslims and Christians.
All this being said, to many Indians, Modi does represent the only significant hope of economic re-stabilization – even to those who would otherwise be his enemy. He is making efforts to reduce corruption, and thereby improve economic conditions within his borders. He has inspired much hope in his people.
The Emirates are naturally an attractive option to Indians: its close proximity, strong job market, pro-expat policies, etc. Given the already large population of Indians and proliferation of their cultural norms, the barrier to entry is minimal, and it is a comfortable environment for newly incoming Indians to immigrate.
Church
The church has a limited presence here. The Sheikhs have graciously gifted land where churches may build. Public practice of Christianity is not allowed unless granted permission (usually for very large congregations). Because the buildings are few, many congregations either meet in private spaces such as hotels, or they will share a parent church building and hold services at odd times. I visited Covenant Hope Church; they met at 15:00 on Sundays. Conversion away (apostasy) from Islam is not legally recognized, and proselytizing to Muslims is forbidden. Blasphemy, in the eyes of Muslims, is prohibited.
Although the church is small, it is mighty. Church membership (as in official status, not attendance) seems to be far more common here than in the States, and it makes sense. Many expatriates are far from home and family; in many cases they will come completely alone. The church serves as their family, and they rely on each other to survive. In many cases they find roommates, close friends, or even spouses within the congregation. Dubai is an easy city to fall into sin, and they hold each other graciously accountable and check in with each other. Membership means you’ve been accepted into that church family, and grant them the authority to hold you accountable. And when they say you will be held accountable, they mean it – if you disappear, they will actually reach out. It’s not like in the States where you can fade out and no one will ask questions. They hold members meetings at least monthly, perhaps even more often than that.
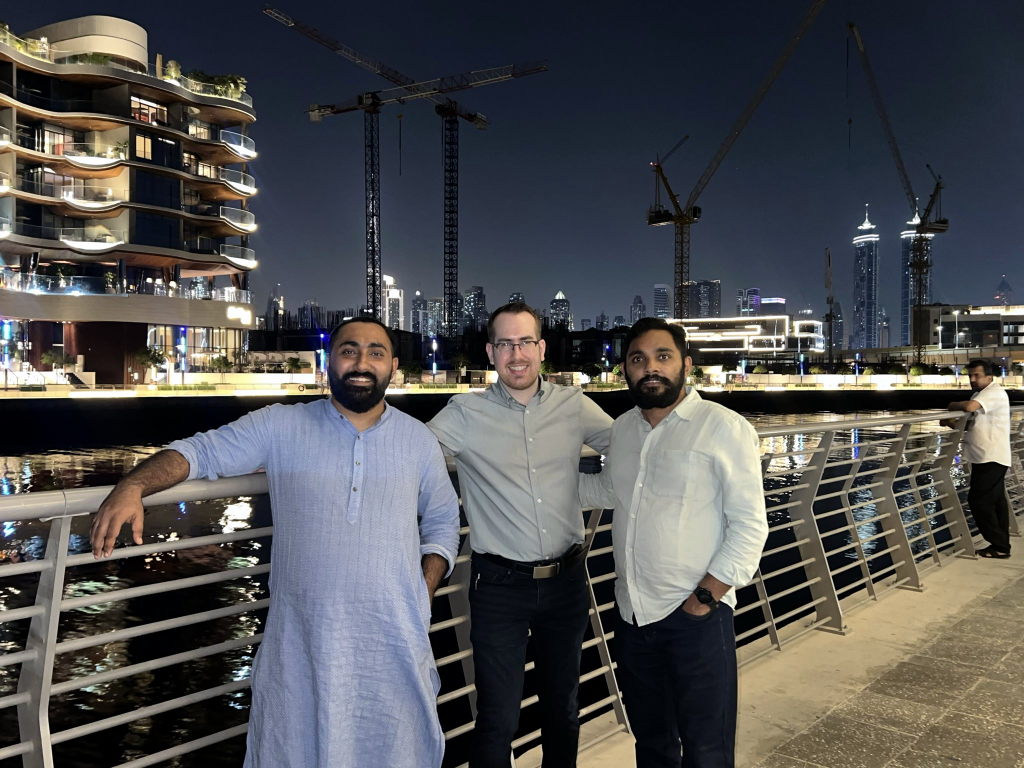
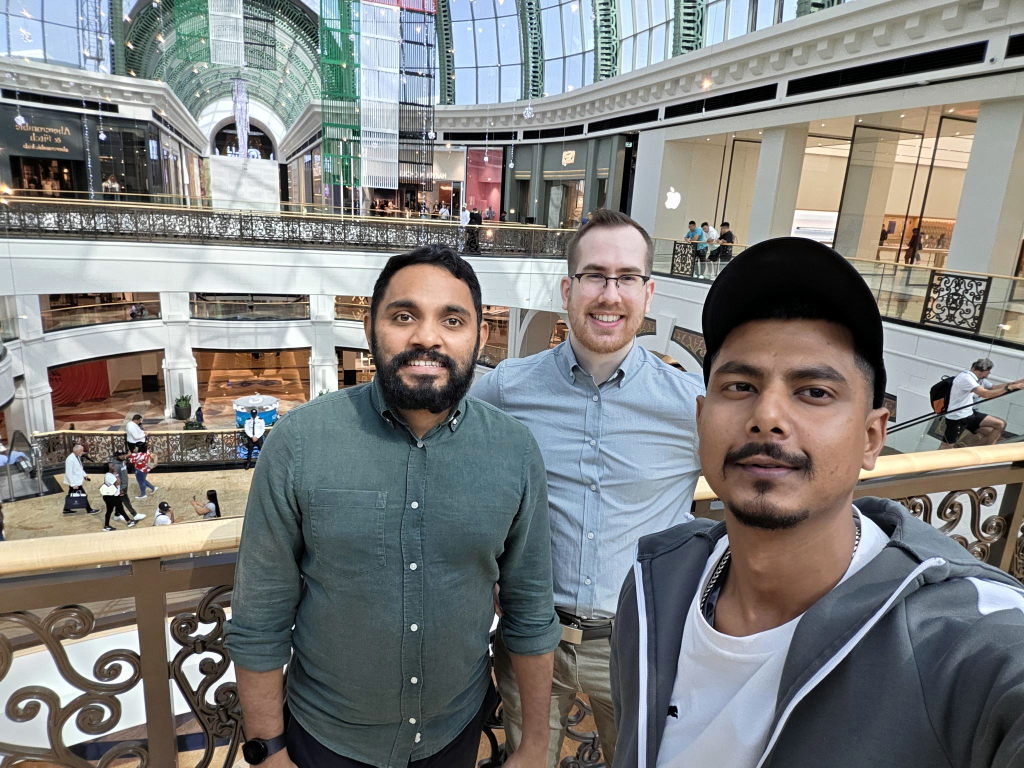
Friends
And through the church, I quickly found myself surrounded by friends. I was very surprised by how quickly I felt at home. Vipin introduced me to his friends Navya, Simon, Param, and Rishav – and I felt like we all had known each other for years. We traded dark humor, dove into meaningful conversation, prayed for each other, and broke bread together. I’m going to miss these brothers and sister, and hope to return soon. I will be checking in on them periodically from afar.
I didn’t receive explicit permission to publicize their names, so the following individuals will be represented by their first initials. I stayed with Vipin, in C and G’s house; a lovely Scottish/English couple with two well-groomed Scottish terriers. I met the delightful housekeeper M, roommates S, T, and G – all of them splendid and gregarious. I had a relaxing study and pool day with the sisters L and B, originally from South Africa. I enjoyed spicy chai tea with K and S (and their energetic son Y), who were days away from welcoming a new baby boy.
Simon, Vipin, and I joined A (who was about to get married) and his parents in his home for some delicious dinner. Indian hospitality is astounding – overflowing plates, heartfelt conversation, and a welcoming attitude that makes you feel like family! We later joined them on a trip to Global Village, which was just as joyful.
Once per week, a talented South Indian cook comes to Vipin’s place; thanks to her, I learned to eat fish biryani like an authentic Indian! Vipin and I had brunch with D about local real estate, which I found tremendously eye opening and I’ll certainly be calling him back in the future.
Food
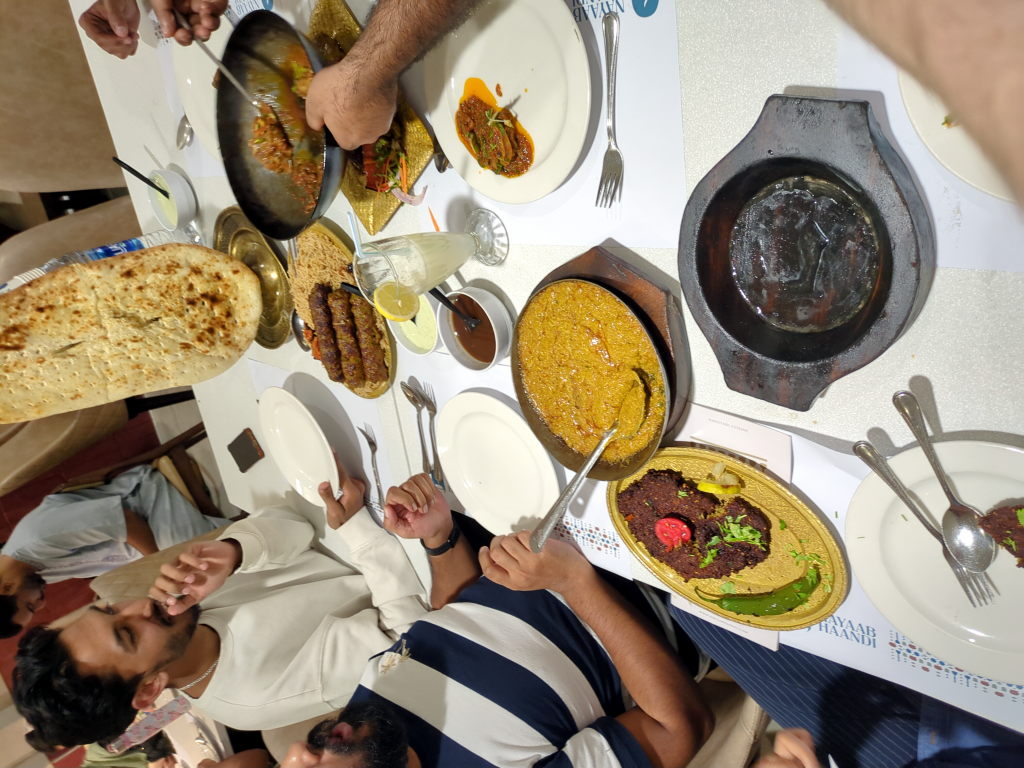
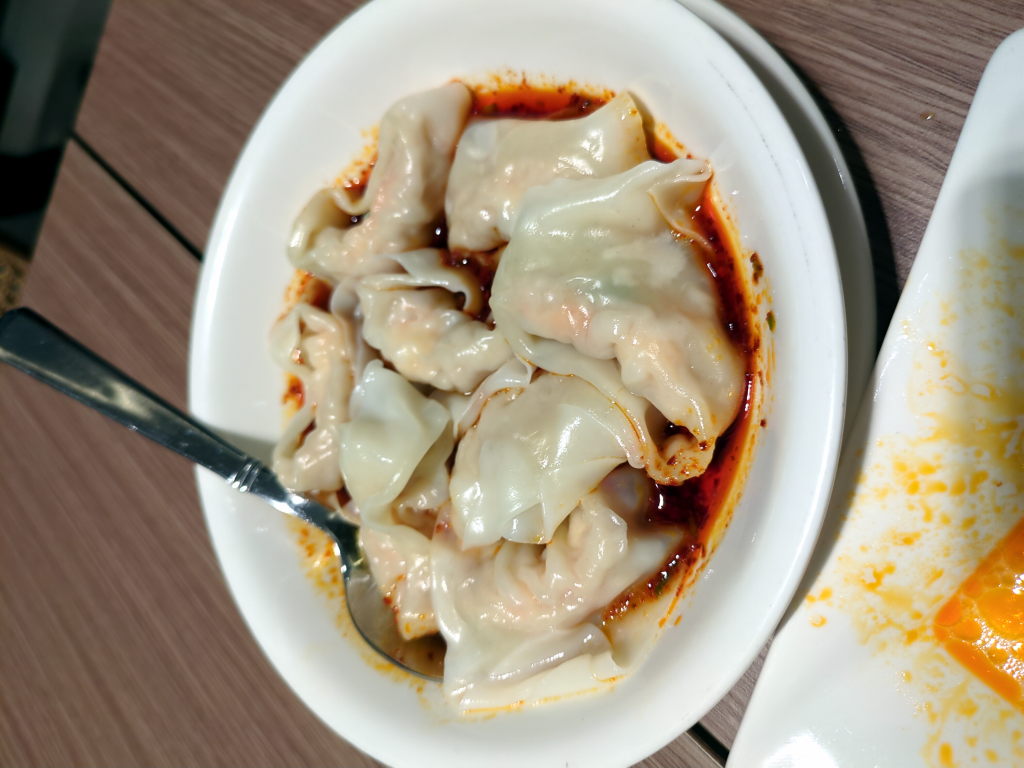
Nearly every meal felt like a bargain. On one night, we fed a group of 6 people for AED 191.50 (USD 52.18) on some delicious Pakistani food; that’s AED 31.92 (USD 8.70) per person! All bellies were full, and we had leftovers to spare. This was at Nayaab Haandi, and it was arguably the best food I had during the whole trip!
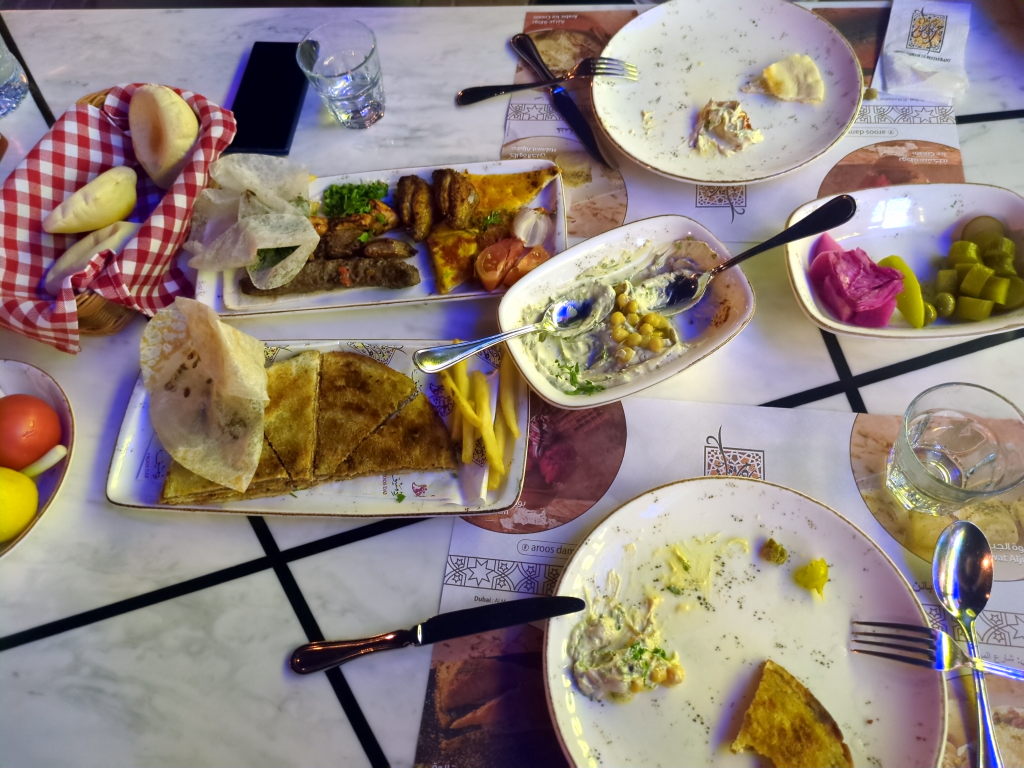
A particular favorite of mine was Aroos Damascus, a Syrian restaurant. We ate here once, and ordered delivery twice more. The hummus was other-worldly, and the arayes – a grilled flatbread stuffed with meat – reminded me of a steak quesadilla (but Mediterranean).
Tipping is not expected, but appreciated. Many times you will not even see a prompt for it. You must raise your hand and ask for the check.
Food delivery is affordable. On the roads, you will see countless, uniformed delivery people mounted on Honda motorcycles with brightly colored cargo boxes labeled in their brand: Careem, Talabat, Noon, and more – all zipping around like neon beetles.
If you’re familiar with Greek and Indian food, you already know the region’s flavor spectrum. Arabic food is generally similar to Greek food, but as you work your way Eastward toward India, it becomes more like Indian food. Pakistani food leans heavily Indian but with some Middle Eastern notes. Syrian food stays closer to Mediterranean. Although this is an expat country containing nearly every culture imaginable, most restaurants fit somewhere within this spectrum.
Dubai has a park called Global Village, and I believe it is reminiscent to the Worlds Fair that no longer exists (meaning the food and culture component; Dubai has hosted the technology aspect in what is now called Expo). It contains multiple pavilions which represent a microcosm of various countries. For example, in the Yemen pavilion, I met a very kind man named Ahmed who brewed us some red tea on sand. It was so wonderful that I purchased a pack of his personal blend to take home.

As a city of expatriates, of course there are plenty of more exotic options beyond the local demographics. We visited a place we think might be Filipino called Off the Hook – reminiscent of Cajun seafood boils in the US.

Navya, Vipin, and I enjoyed wonderful bowls of noodles at a Taiwanese restaurant in the Dubai Hills Mall, and for dessert, bowls of Italian gelato.

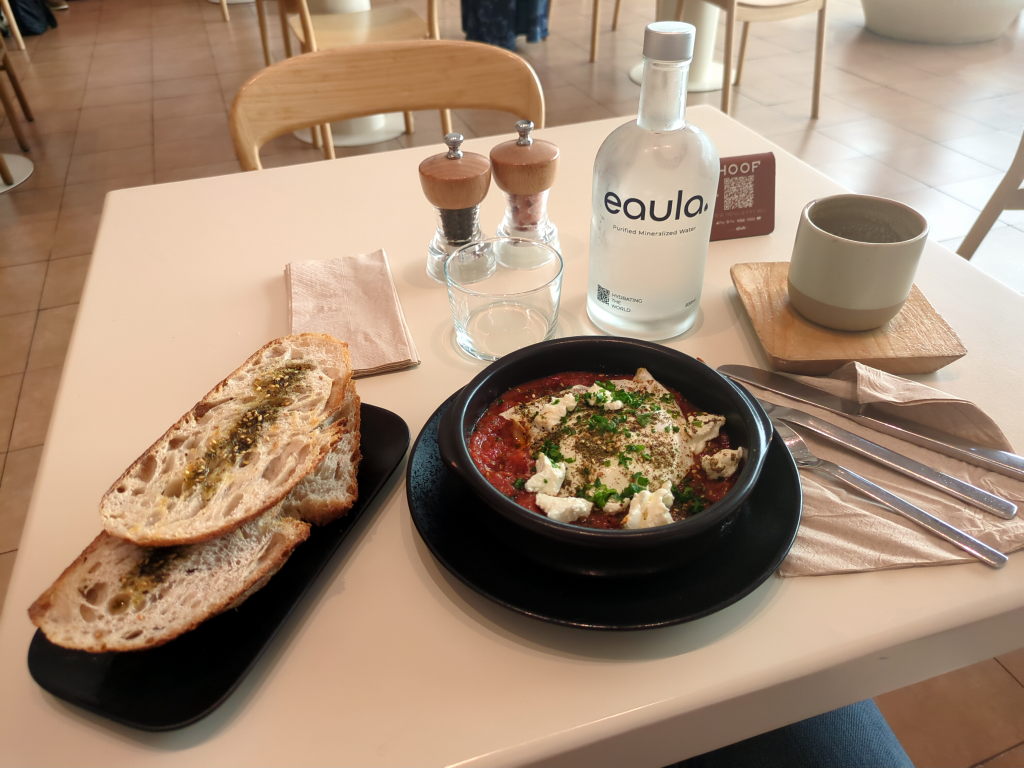
I had some time to kill at the Dubai Mall (largest) and stopped at Hoof for some coffee and brunch. It’s a great place to get some work done!
Groceries
I went to Carrefour (French) and LuLu Hypermarket, both were wonderful. Excellent prices, but with a premium Whole Foods-like feel. Each offers groceries with a decent selection of home goods and electronics, but they didn’t feel as all-encompassing as Walmart or Target. I never quite found a true “one-stop shop” where you can buy food and almost everything under the sun in single trip. It’s not clear to me where locals get their stuff; IKEA and maybe some office supply stores exist. They do have Amazon, AliExpress, and Noon (the local competitor). Second-hand stores like Goodwill don’t seem to be present but would likely enjoy enormous demand.
Prices for a few staples are listed below:
- LuLu flour, AED 3.75 / 1 kg (USD 2.32 / 5 lbs)
- Large eggs, AED 13.50 / 15 eggs (USD 2.94 / 12 eggs)
- LuLu rice, AED 9.90 / 2 kg (USD 3.05 / 5 lbs)
- Carrefour rice, AED 20.00 / 5 kg (USD 2.47 / 5 lbs)
- Carrefour whole milk, AED 18.99 / 3.8 liters (1 gallon) (USD 5.17 / gal)
- Carrefour noodles, AED 12.79 / 500 g (USD 3.16 / 1 lb)
- Glass container set, AED 17.99 (USD 4.90)
- Shower gel, AED 20.49 (USD 5.58)
- Bose Quiet Comfort Ultra Headphones, AED 1099 (USD 300)
By the way, milk prices are hugely subsidized in the US, so you won’t be able to make an apples-to-oranges comparison there.
Clothing
While looking at some statistics for the area, I noticed an uptick in prices for clothing. I decided to check out a few shops in the Mall of Emirates to confirm whether this was true.
Prices for a few basic items are listed below:
- T-shirts, AED 39 (USD 10)
- Polos, AED 49 (USD 13)
- Oxford shirts, AED 69 (USD 19)
- Jeans or Joggers, AED 109 (USD 30)
Real Estate
Food may be cheap, but housing is a different story – and an investment story at that. Real estate in the Emirates is a lucrative business. Expatriates may hold property in designated Freehold zones. Most apartments can be purchased for under AED 1M (USD 272,479). The starting point for purchasing a Villa is about AED 2.7M (USD 735,694). Fixed rate mortgages here usually span 20 years, and require 20% down for resident expatriates; for non-residents, it’s usually 40%. The interest rates are very good right now compared to the US market, just 3.7% (the US currently floats near 6.7%). The quitclaim mechanism in the US also exists here but under different paperwork and name, so it is possible to move your property into a local company after purchase.
Most of the Freehold zones and compelling real estate options exist in Dubai, although Ras Al Kaimah (frequently abbreviated RAK) is an up-and-coming Emirate with liberal laws. A lot of the housing inventory is fairly new, so rehabilitation does not appear to be common; however, expats are starting to look for forever homes, and in these cases rehabilitation is explored.
As with almost everything in the Emirates, the real estate market is tightly integrated with the government databases. The DXB Interact app shows approximate costs per square meter, and even rent yields. The Dubai Rest app is mostly a payment portal for residents to pay their landlords via their UAE Pass / Emirates ID. Landlords can also view and control documents for their properties via this portal, and they can also see rent indices for different zones. This level of transparency makes documentation extremely accessible, and issues like rent disputes straightforward to navigate.
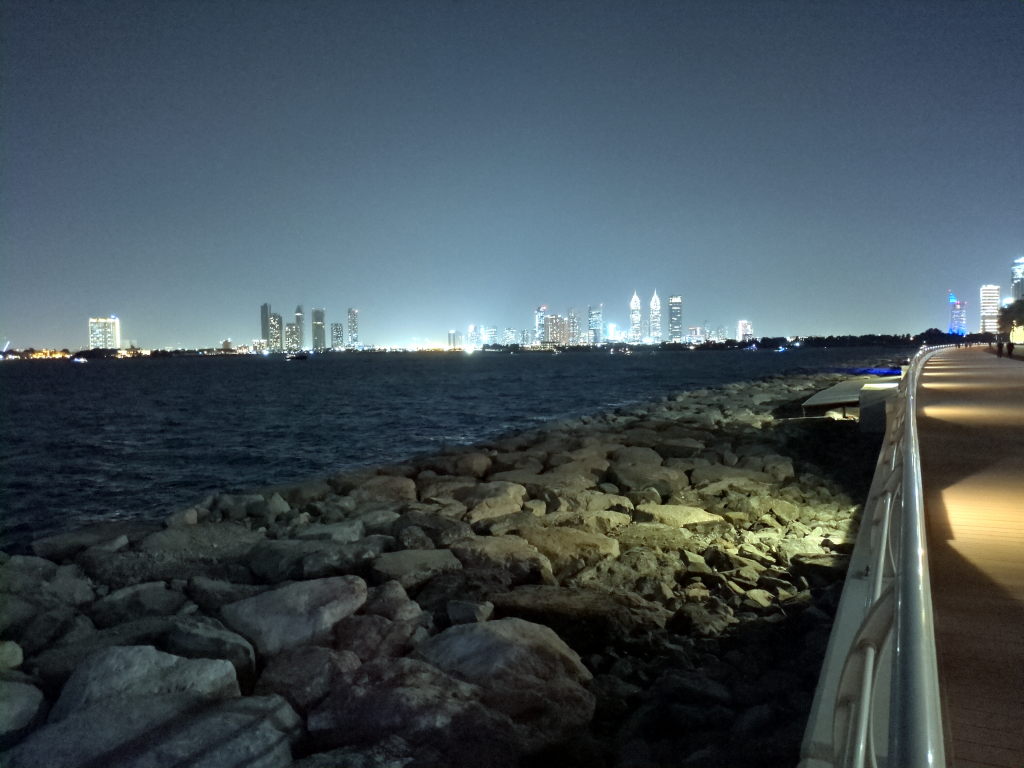
In Dubai there is a popular mode of investing called “Off Plan Properties,” where people invest money into a planned structure (usually towers) to gain a stake in it, then later will reap rental yields. This has become popular due to the rapid increase of immigrants outpacing the housing supply. I’m personally a bit skeptical of this method, but it’s interesting nonetheless. It pairs neatly with the kind of ambitious mega-projects Dubai is famous for, such as the well-known artificial islands: Palm Jumeirah. We drove for probably over an hour across its “palms” and stopped to see the coastline. The scale is staggering.
One practical challenge I noticed is addressing. In the States, a home address is almost as good as a GPS coordinate; in the Emirates, navigation still relies on landmarks or building names, and maps have a hard time keeping up with the latest developments. As a newcomer, this was a stumbling block.
Dubai Air Show
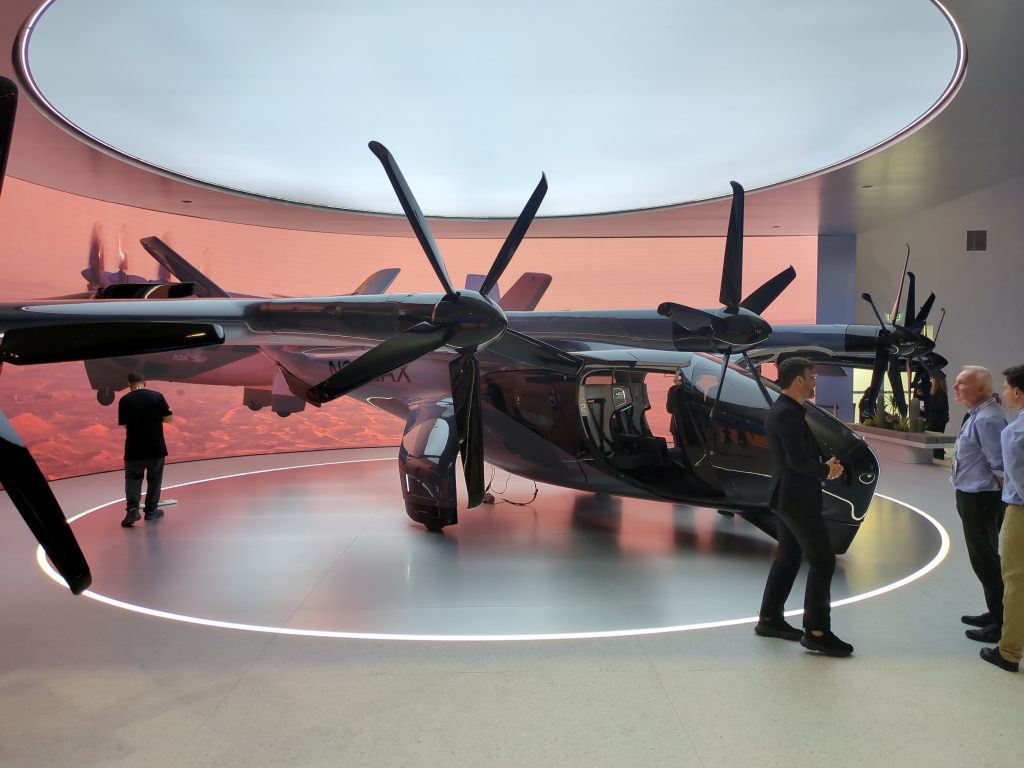
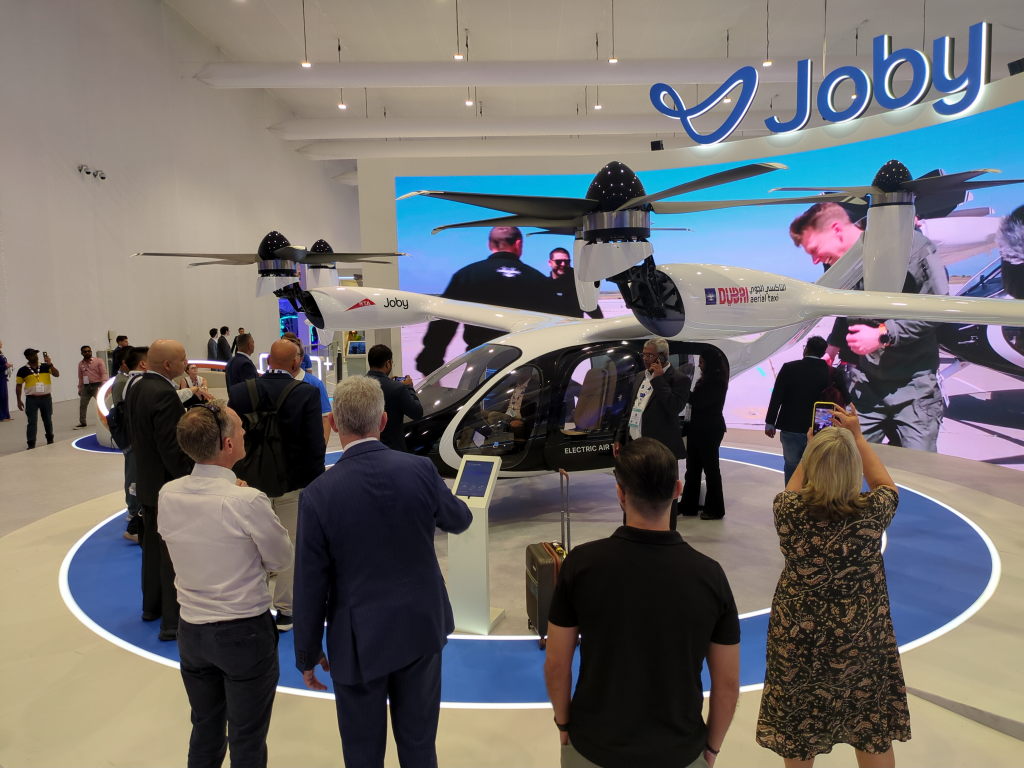
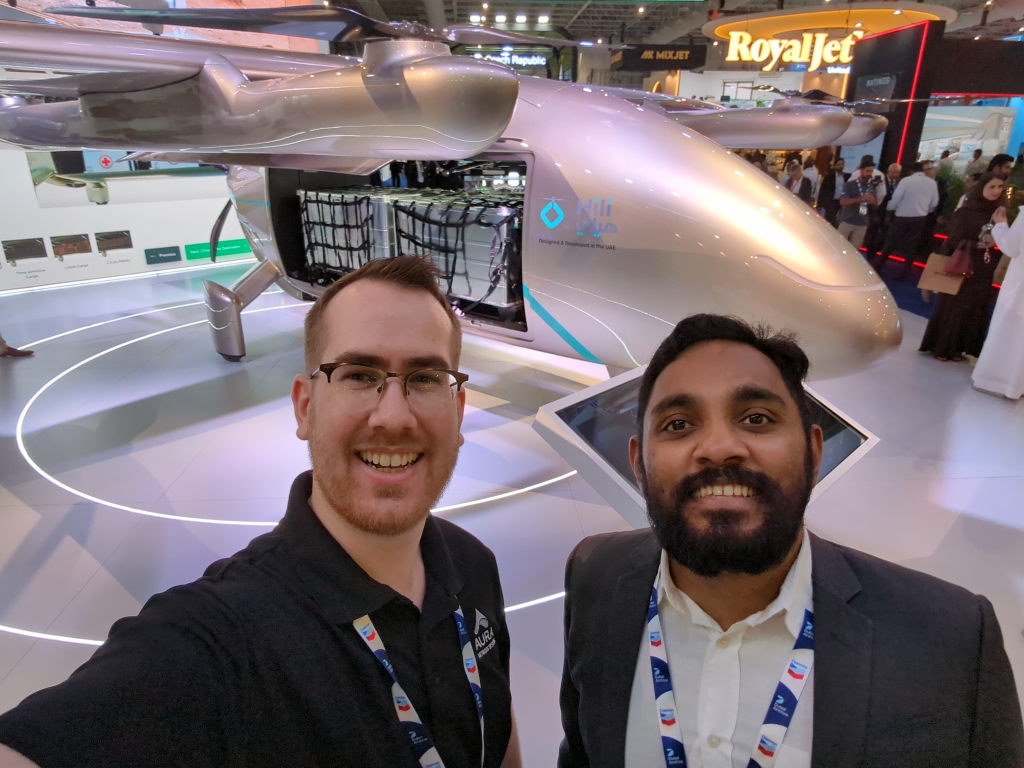
Dubai is an international aviation hub. While I was in town, I visited the Dubai Air Show – a place where cutting-edge aviation and mobility technologies often debut.
Something I quickly noticed while here was that traffic is awful. It isn’t the infrastructure’s fault though: 8 lane highways, extensive light rail, bus networks, top-notch taxi services, etc. The bottleneck really is just the sheer volume of incoming people… the city’s supply can’t keep up with demand, no matter how remarkably fast they build. By golly, Vipin joked to me that he would leave on a trip, and by the time he returned there was a new expressway next to his house. It’s clear the traffic problem here is a major motivator for innovation in transport.
The Emirates appear to be very serious about reinventing mobility. The city is preparing to introduce air taxi services by 2026. Vertiport construction is underway, flight testing and demonstrations are completed, and air traffic control (ATC) systems for flight planning traffic management are in-place. This isn’t a publicity stunt; they have skin in the game… and I have full faith urban air mobility will appear here first before anywhere else.
A major with the police force claimed during a panel that within 1 minute of someone dialing 999 (emergency number), a drone arrives at the scene of the incident for 44% of Dubai’s urban areas. He said the drone deployment is managed via a unified air-traffic and collision-avoidance system. These systems integrate with sensors and jammers in the field which can detect and disrupt non-compliant aircraft. Police drones are only one part of this growing ecosystem – the same infrastructure can support delivery drones, inspection flights, and even passenger air taxis.
Government
As I said earlier, the people in power here are really interested in being king of the hill in technology, and because of that, they often invite entrepreneurs to inform policy. The fact that their government is a federation of monarchies also means that Sheikhs may merely decree that they want something done… and make it so.
Vipin relayed an anecdote illustrating this pace: a Sheikh had authorized a new tower, and upon visiting the site the next day, he asked why no cranes or equipment were present yet – a reminder that momentum is expected to begin immediately. The contrast against the slower, consensus-driven democratic system is unmistakable.
Efficiency comes with trade-offs though. As a privacy-conscious individual, I assumed my activity was viewed with more scrutiny by telecom operators and the state than at home. Like many countries, the Emirates block certain traffic, and tightly regulates services, so you should adjust your expectations accordingly.
Sights
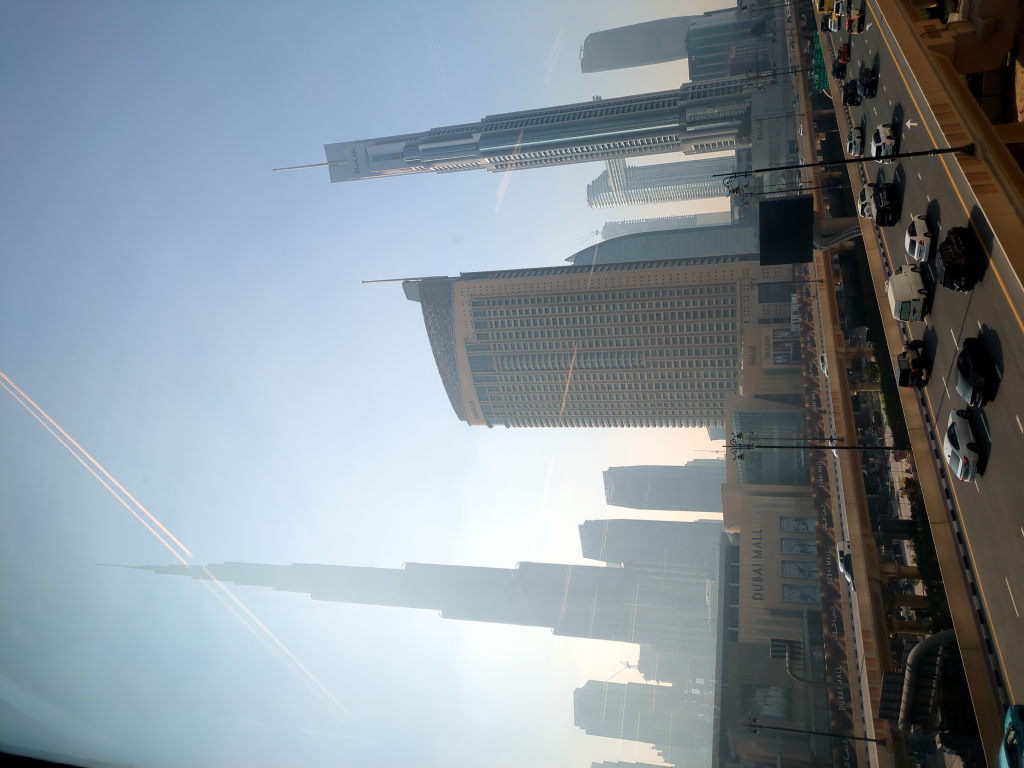
Burj Khalifa
Of course I had to see the Burj Khalifa. It stands 828 meters (half a mile) tall and has held the title of tallest building in the world since 2009. Their neighbor, Saudi Arabia, is actively constructing Jeddah Tower which is planned to be 1 km tall (3,281 ft) by 2028.
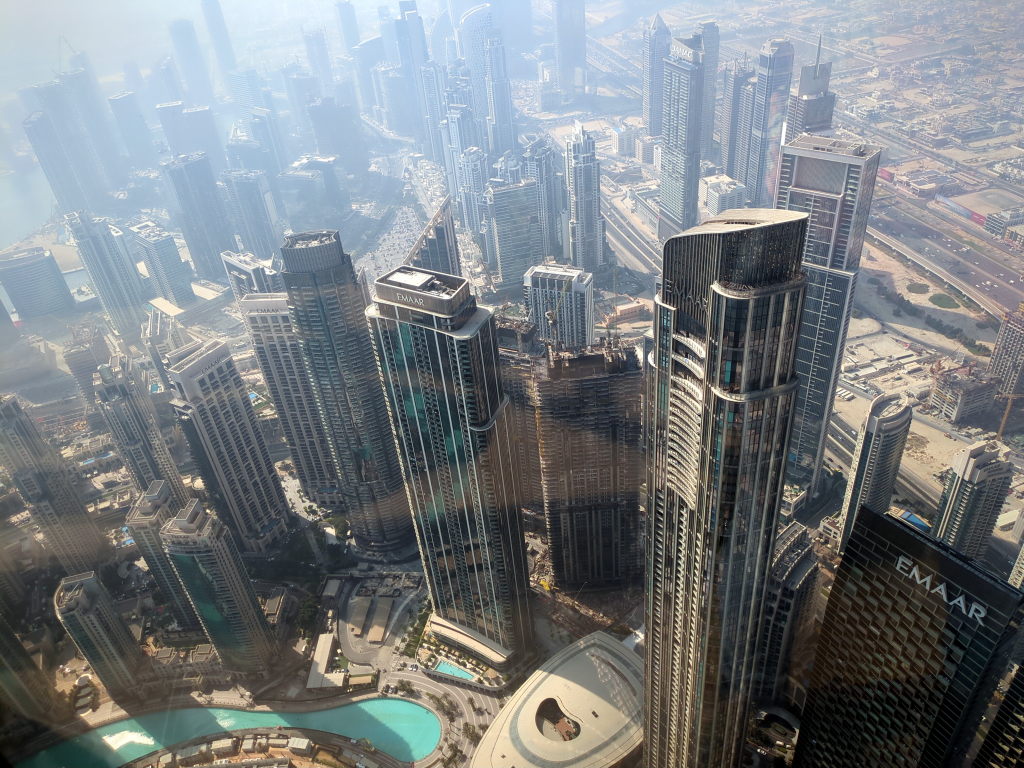
In the words of my brother, from that vantage point “the other buildings look like baby buildings.”
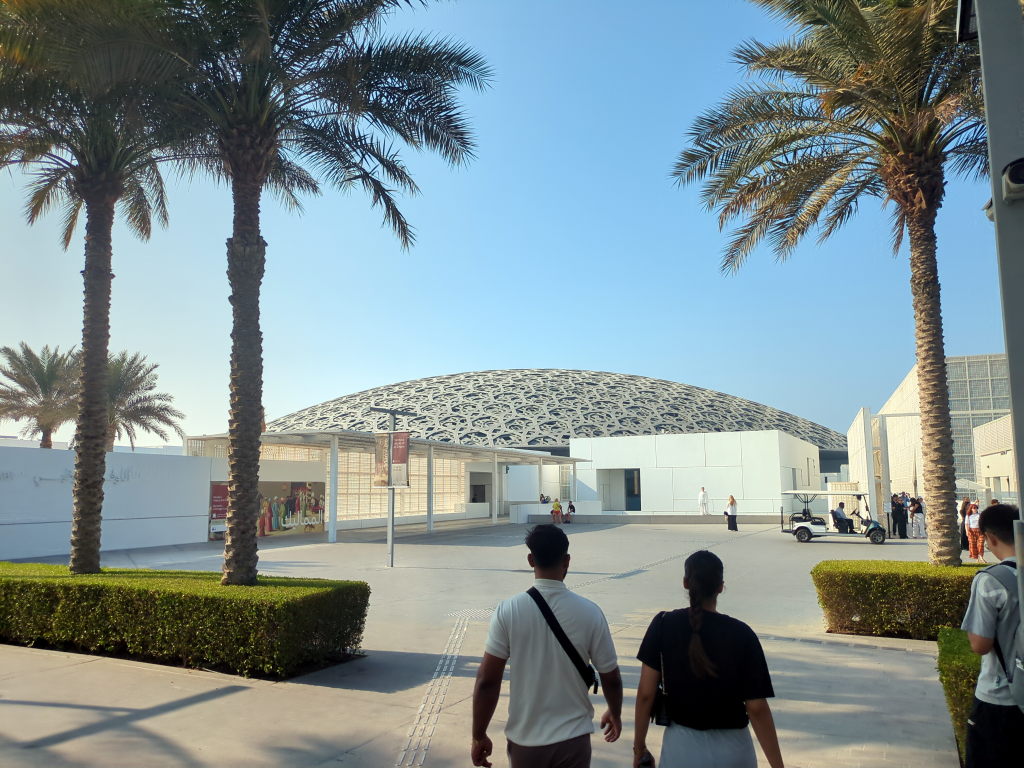
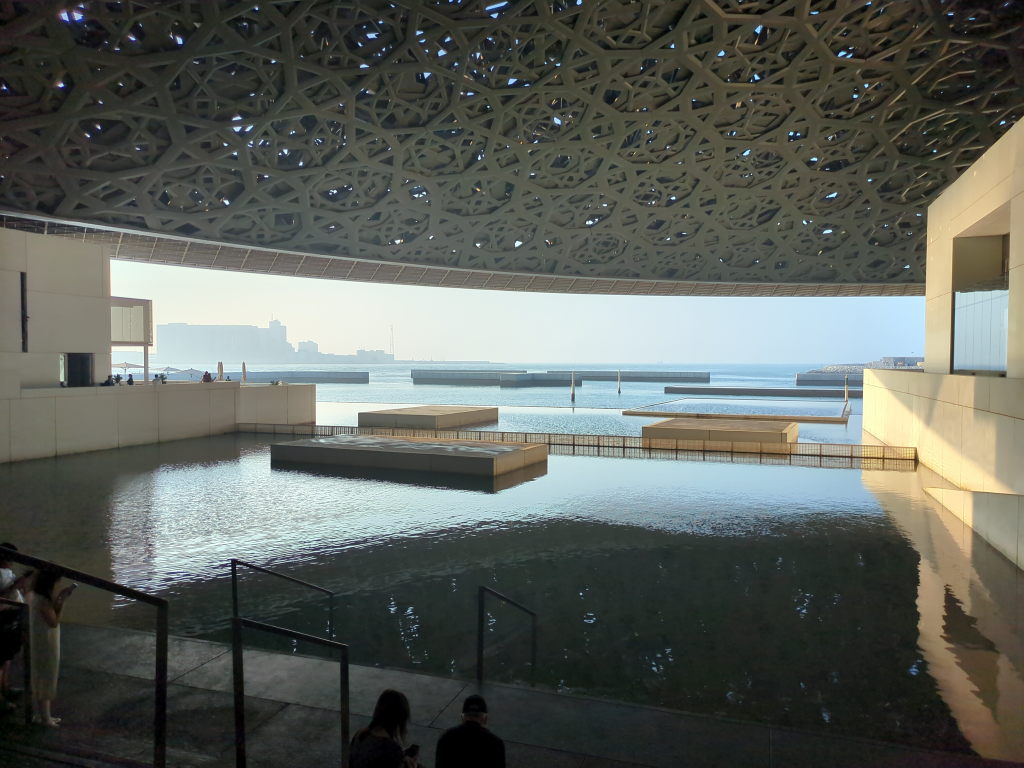
Louvre
The Louvre Abu Dhabi was unexpectedly affordable. Beautiful architecture. Perhaps a bit touristy, there were lots of Europeans in there. Simon joined us for this trip!
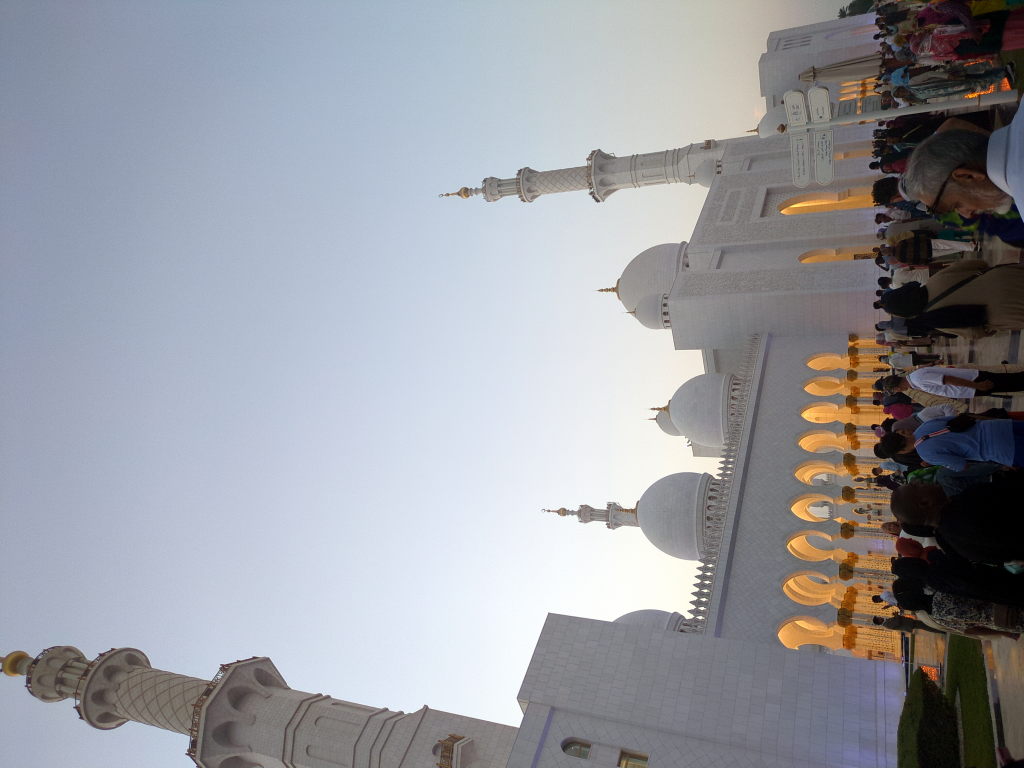
Grand Mosque
We also checked out the Sheikh Zayed Grand Mosque in Abu Dhabi, the largest mosque in the Emirates. It’s absolutely enormous, with beautiful white marble. There’s so much detail and craftsmanship, and yet somehow it’s the open courtyards and negative space that really captivate you. Simon joined us for this trip too!
The End
I came for the adventure, but I left impressed by the ambition, the hospitality, and the scale of this city that refuses to sit still. I’ll be back – if only to check what they’ve built in the meantime.
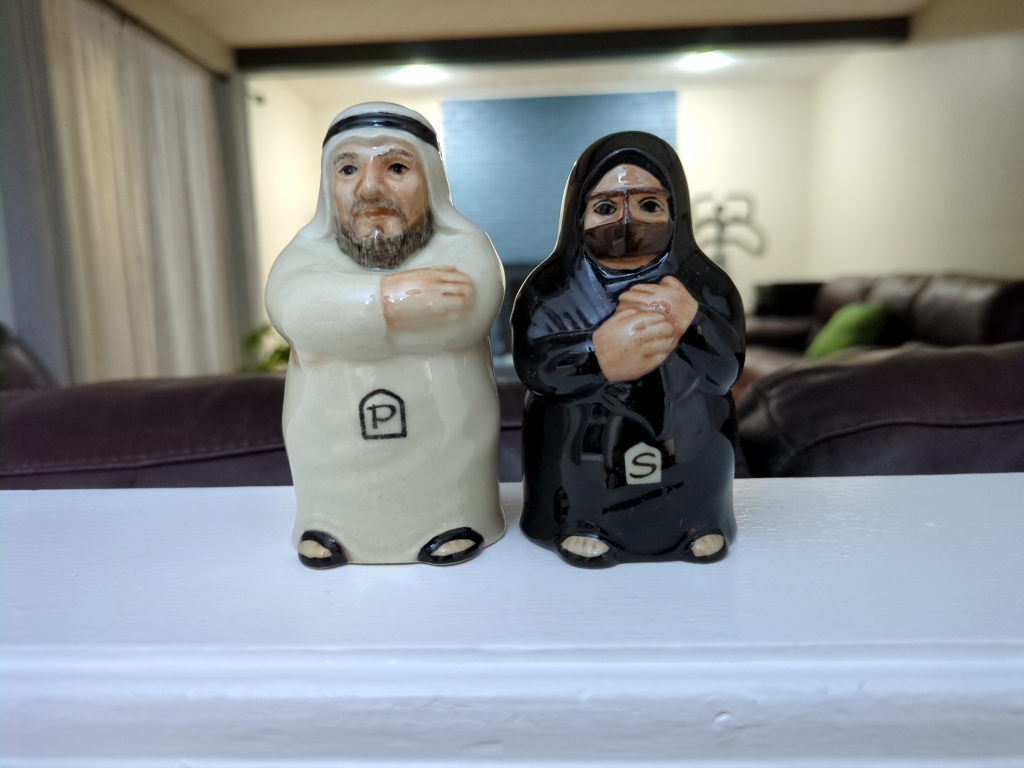
Until then, please enjoy these very fashionable salt and pepper Sheikhers.